
 Retail Cards are small signs that provide information about your retail products available for sale. Also known as "shelf talkers", retail cards help attract your client's attention in your waiting area. For the purpose of today's blog, I have created very simple retail cards with an image, product name, and price. More elaborate shelf talkers may include details about where or how the product is made, it's benefits of use, and possible gifting ideas.
Needed for this Project: *Computer, *Printer, *Cardstock, *Scissors or Paper Trimmer


Step Two: I chose a pre-made business card design with a flower. You could create your own with logo or other design.
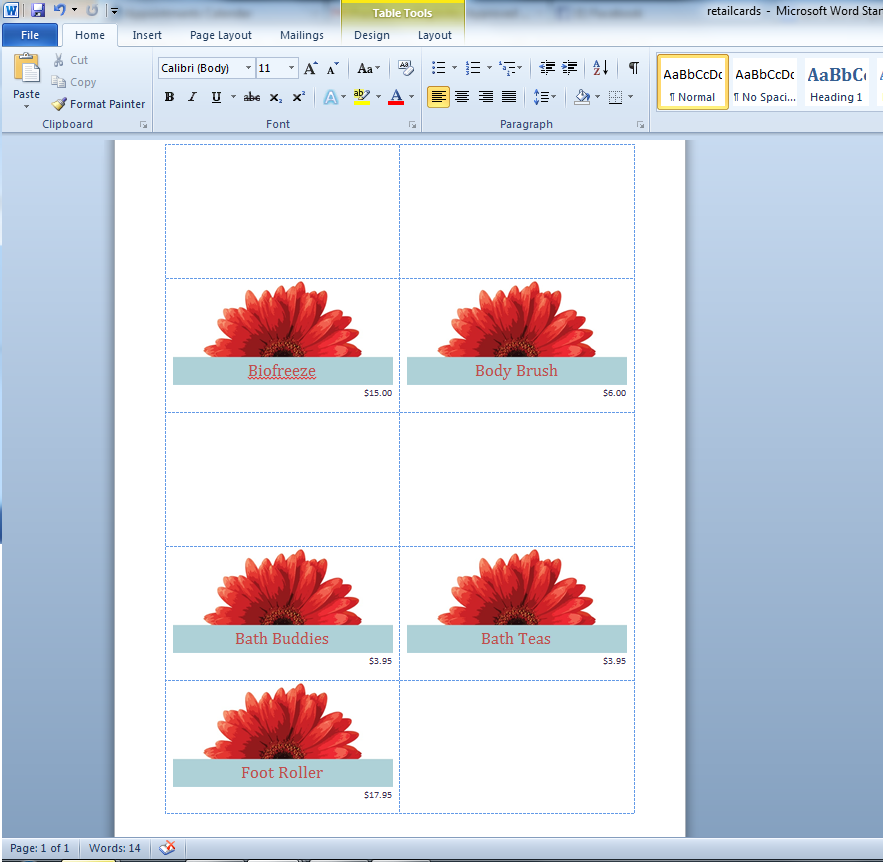
Step Three: Delete rows 1 & 3 and the right portion of row 5 (side folding tent card). These will be the back half of your tent cards. Change the placeholder information to your custom descriptions. (For my example I am only putting product name and price).
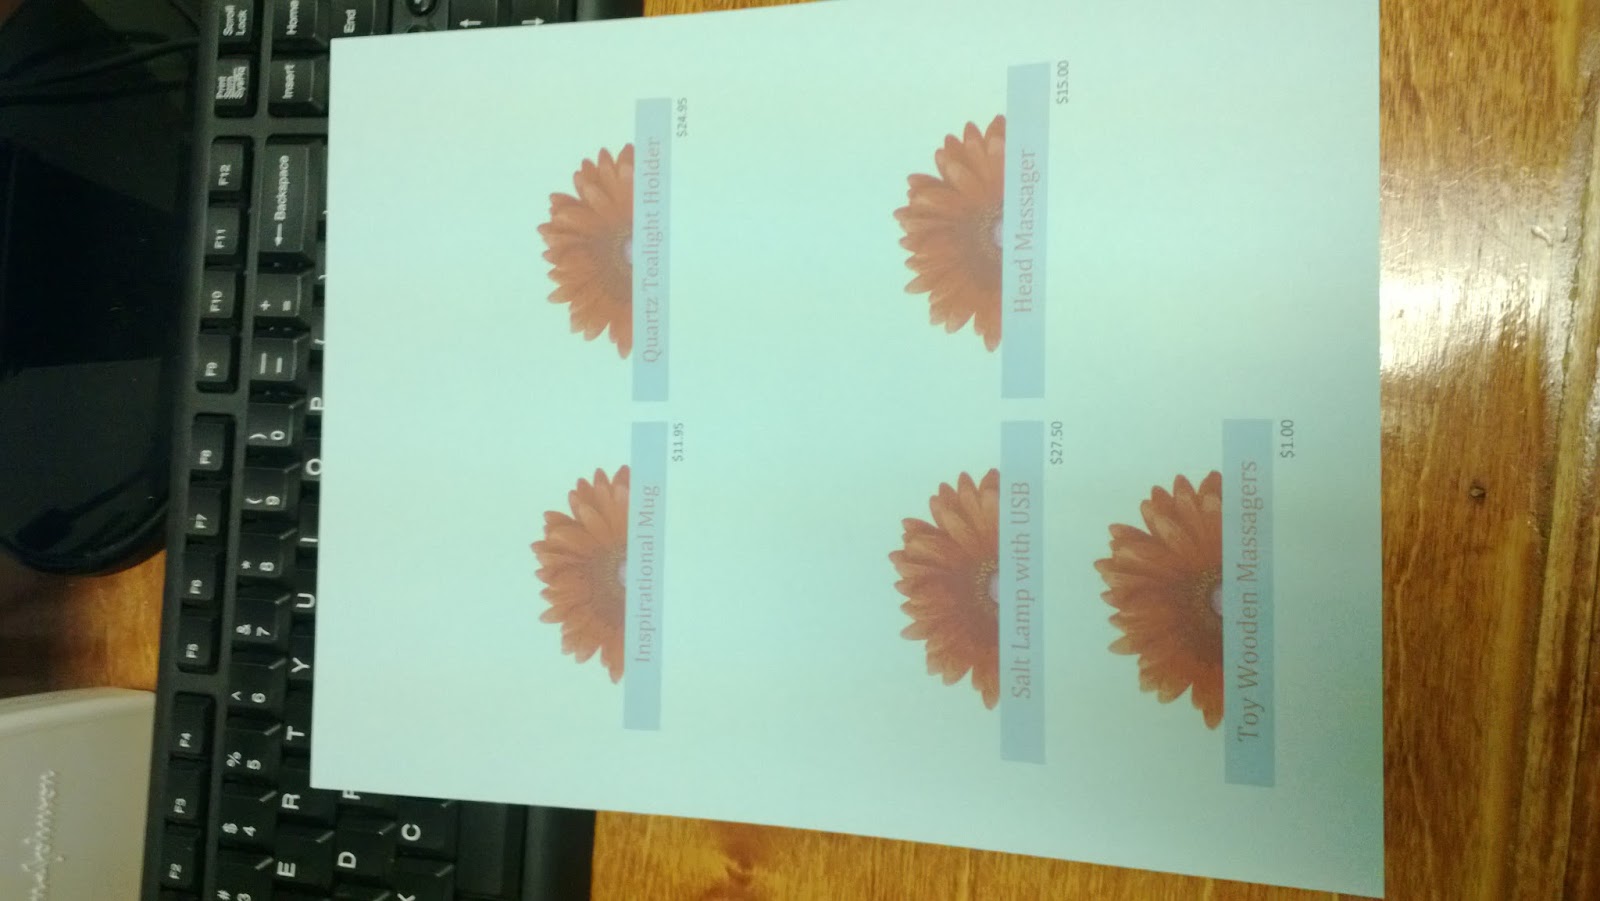
Step Four: Print. I used colored cardstock to stand out and stand up straight.
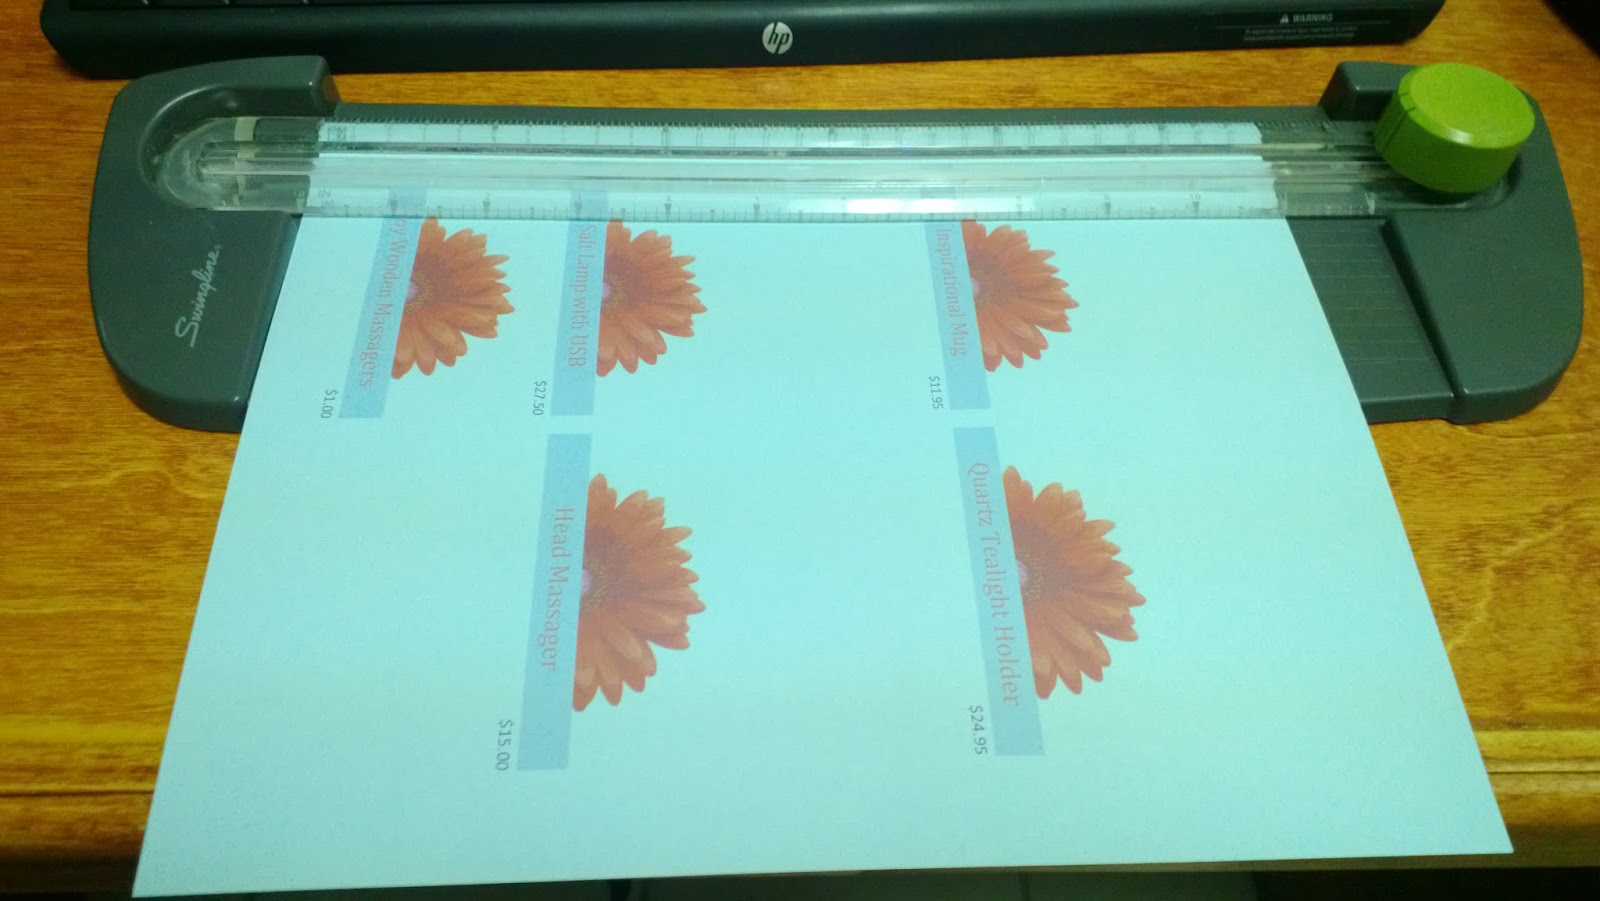
Step Five: Chop.

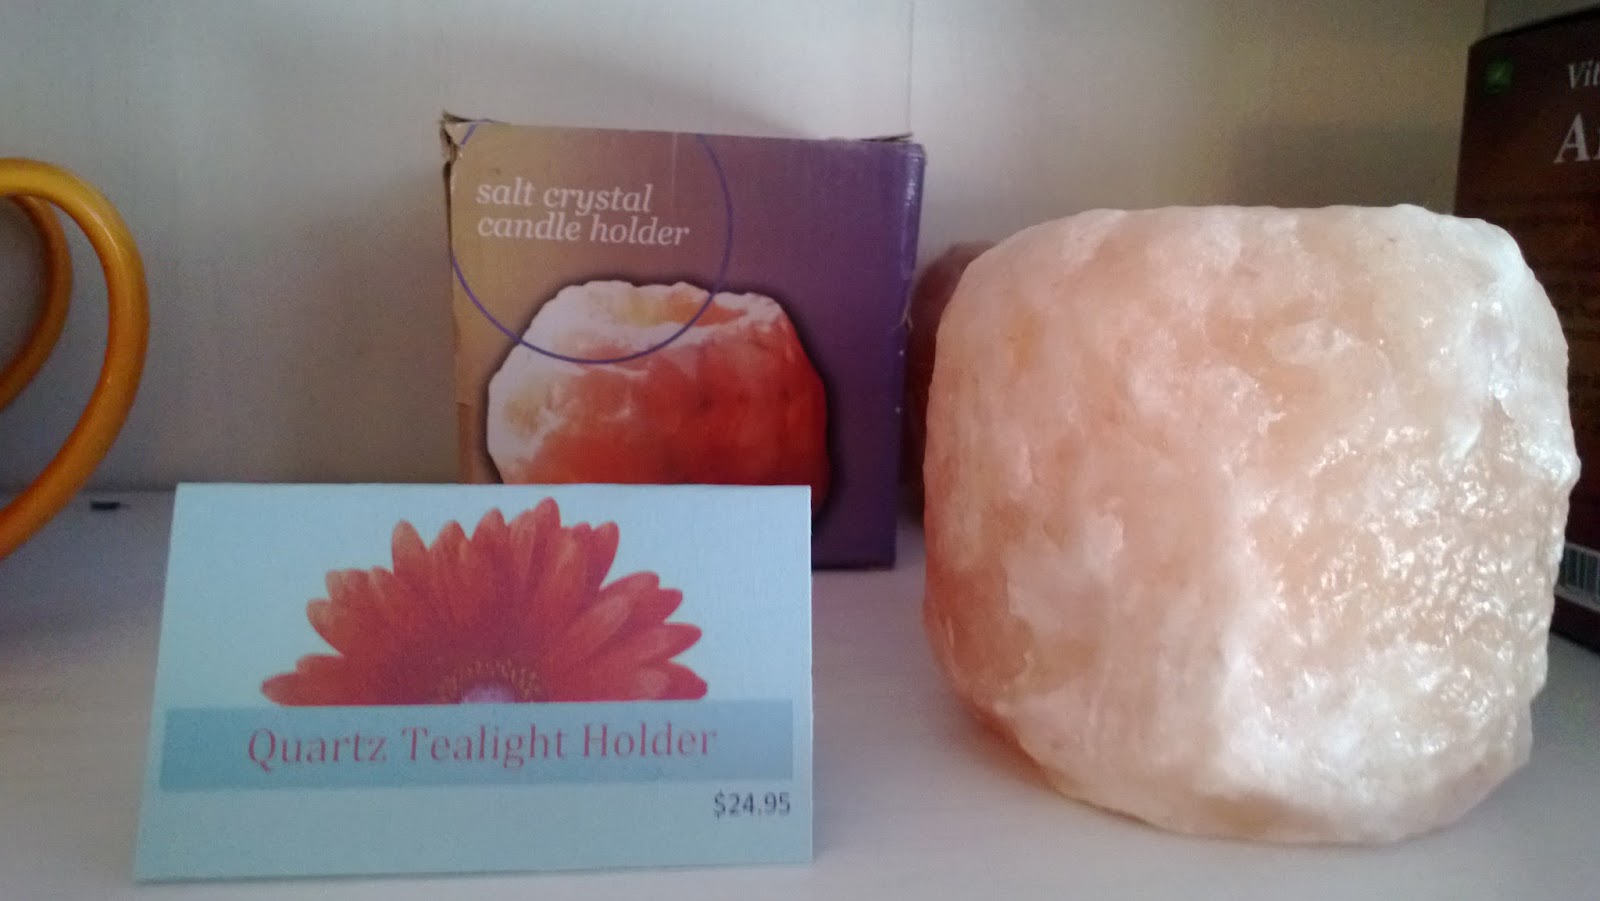
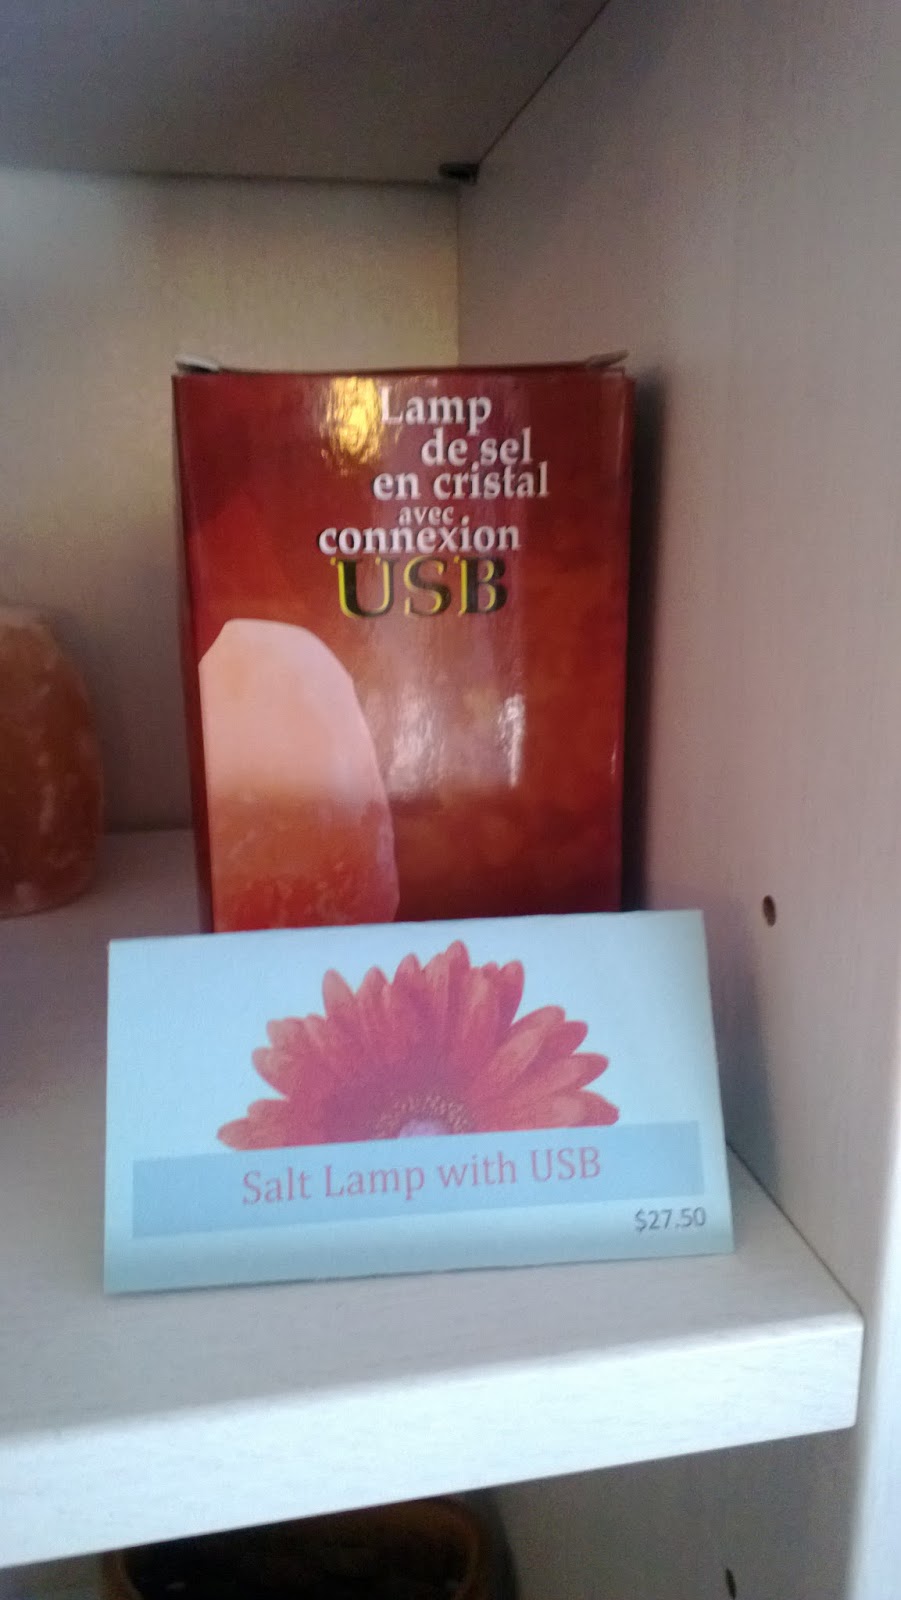
I think this looks much better than the price stickers we had been using and we can change the cards quickly and easily when we need to. We will make seasonal cards for the same products to spark interest in slow moving items around different holidays.
Here's how they turned out:


What do you think? Can you spice up your retail displays with this fast and easy retail card display? Comment below!
No comments:
Post a Comment